Easy Chocolate Dipped Rice Krispie Treats Recipe
Chocolate Dipped Rice Krispie Treats are a simple upgrade to a classic favorite. The satisfying crunch of Rice Krispies cereal meeting gooey, melted marshmallows is a classic for a reason. But taking that beloved treat and dipping it in rich, melted chocolate? That’s a simple upgrade that transforms it into something truly special, perfect for parties, bake sales, or just a really good afternoon snack. This recipe focuses on getting that perfect chocolate coating, ensuring a beautiful finish and a delicious contrast to the sweet, chewy interior. Using European-style salted butter makes a subtle but noticeable difference in the depth of flavor in the Rice Krispie base itself, and when you pair that with good quality chocolate, you end up with a treat that tastes way more sophisticated than its simple ingredients suggest. It’s all about that balance: the salty butter, the sweet marshmallow, the crispy cereal, and the decadent chocolate coating.
Ingredients:
- 6 tablespoons European-style Salted Butter
- 16 ounces marshmallows
- 7 cups Rice Krispies Cereal
- 18 ounces melted and tempered chocolate or melted confectionery coating (Candy Melts)
- optional toppings: small candies, sprinkles, chopped nuts, edible glitter.
Making the Rice Krispie Base
This part is straightforward and is the foundation for our chocolate dipping. The key is to work efficiently once the marshmallows are melted. First, get your pan ready. You’ll need a 9×13 inch baking pan. Grease it really well with butter or cooking spray, or line it with parchment paper, leaving some overhang on the sides so you can lift the treats out later. This step prevents sticking, which can be a real fr
Chocolate Dipped Rice Krispie Treats
The satisfying crunch of Rice Krispies cereal meeting gooey, melted marshmallows is a classic for a reason. But taking that beloved treat and dipping it in rich, melted chocolate? That’s a simple upgrade that transforms it into something truly special, perfect for parties, bake sales, or just a really good afternoon snack. This recipe focuses on getting that perfect chocolate coating, ensuring a beautiful finish and a delicious contrast to the sweet, chewy interior. Using European-style salted butter makes a subtle but noticeable difference in the depth of flavor in the Rice Krispie base itself, and when you pair that with good quality chocolate, you end up with a treat that tastes way more sophisticated than its simple ingredients suggest.
Ingredients:
- 6 tablespoons European-style Salted Butter
- 16 ounces marshmallows
- 7 cups Rice Krispies Cereal
- 18 ounces melted and tempered chocolate or melted confectionery coating (Candy Melts)
- optional toppings: small candies, sprinkles, chopped nuts, edible glitter.
Making the Rice Krispie Base
This part is straightforward and is the foundation for our chocolate dipping. The key is to work efficiently once the marshmallows are melted.
- First, get your pan ready. You’ll need a 9×13 inch baking pan. Grease it really well with butter or cooking spray, or line it with parchment paper, leaving some overhang on the sides so you can lift the treats out later. This step prevents sticking, which can be a real frustration when you’ve worked hard on a batch. If using parchment, make sure it lies flat and doesn’t have too many wrinkles.
- In a large pot over low heat, melt the 6 tablespoons of European-style salted butter. You want it melted but not browned. Once it’s liquid, add the 16 ounces of marshmallows. Continue to stir gently over low heat. It’s important to keep the heat low to prevent the marshmallows from scorching or becoming tough. Keep stirring until the marshmallows are completely melted and smooth. This usually takes about 5-10 minutes. The mixture should be a glossy, uniform mass. Remove the pot from the heat as soon as the marshmallows are fully melted.
- Add the 7 cups of Rice Krispies cereal to the melted marshmallow mixture. Stir gently but thoroughly until all the cereal is coated. You want to make sure every single crispy flake gets coated in that sweet, gooey goodness. Don’t overmix, as this can break down the cereal too much and result in a denser treat. Work quickly here because the marshmallow mixture will start to set up as it cools.
- Carefully transfer the cereal mixture into your prepared 9×13 inch pan. Use a buttered spatula or your hands (lightly buttered or greased) to press the mixture evenly into the pan. Don’t press too hard, as this can make the treats dense and hard. Just a gentle, even pressing is all you need to ensure they hold their shape. If you’re using parchment paper, you can also press down gently on the paper itself to help even out the mixture. Let this base cool completely. This usually takes at least 30 minutes, but an hour is even better for a firm base.
Dipping and Decorating
This is where the magic happens and transforms our simple Rice Krispie treats into something show-stopping.
- Once your Rice Krispie base is completely cool and firm, cut it into your desired shapes. Squares or rectangles are easy, but you can also use cookie cutters for fun shapes once the bars are firm enough. For dipping, you can cut them into rectangles about 2×3 inches, or any size you prefer. The firmer the base, the cleaner your cuts will be. You can lift the entire slab out of the pan using the parchment paper overhang, then place it on a cutting board for easier slicing.
- Prepare your melted chocolate. You’ll need 18 ounces of melted and tempered chocolate or melted confectionery coating (like Candy Melts). If you’re using real chocolate, tempering it is ideal for a snap and shine, but confectionery coating is much easier to work with for dipping and sets up beautifully without tempering. Melt the chocolate or coating according to package directions. A double boiler or the microwave (in 30-second intervals, stirring in between) works well. You want the chocolate to be smooth and fluid, but not too hot. If using confectionery coating, it usually melts into a nice, dippable consistency.
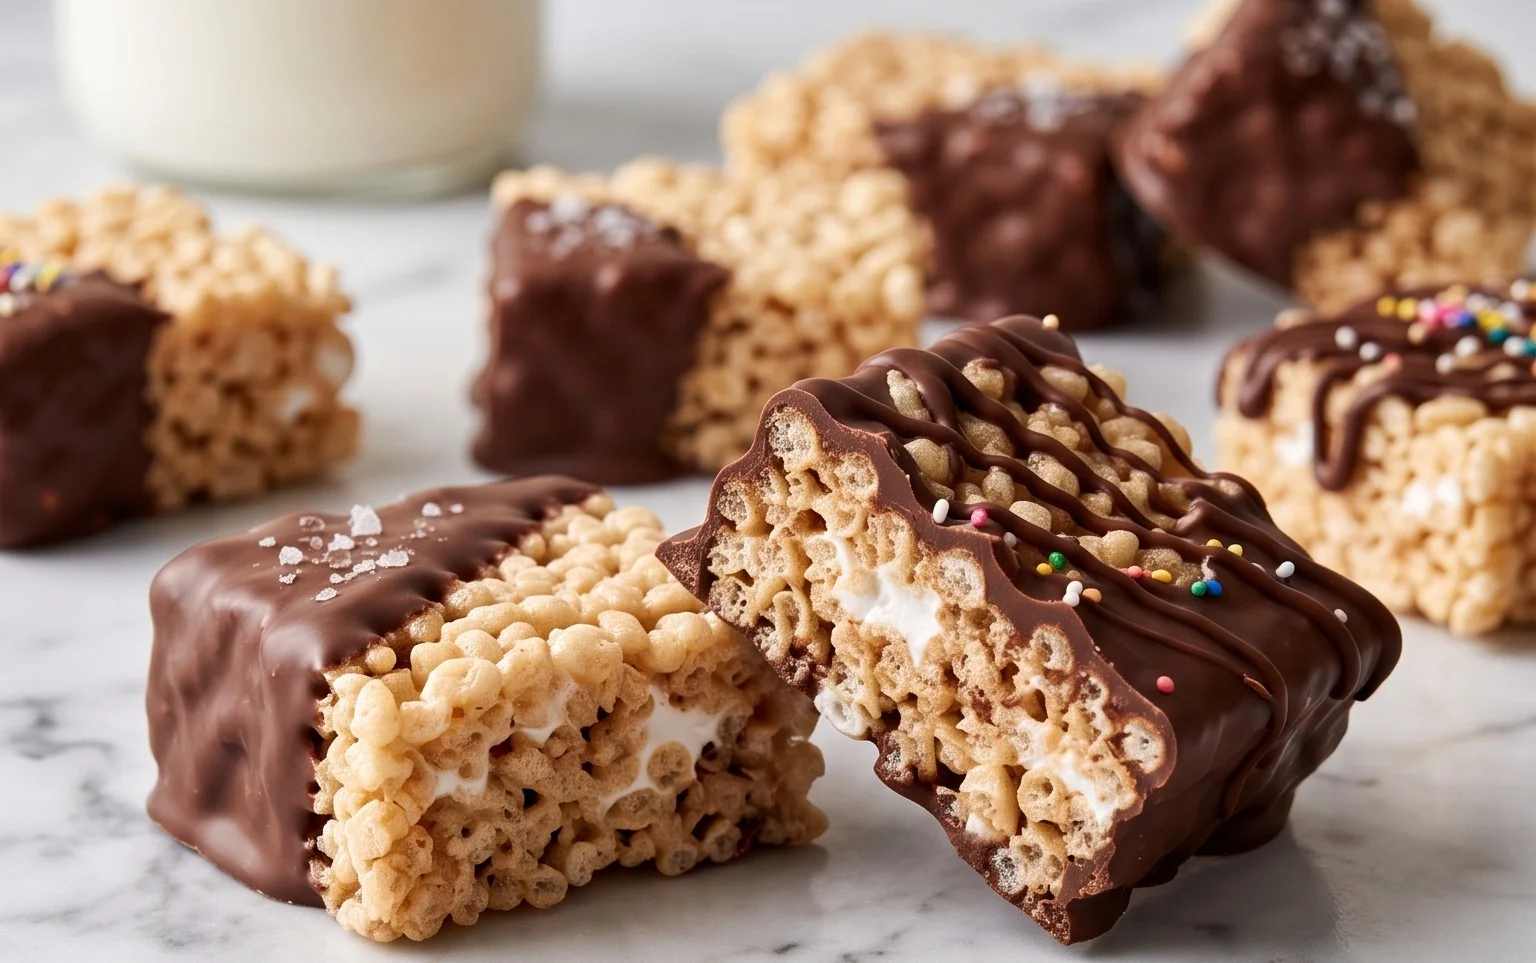
- Now for the dipping! You can dip the treats in a few ways. You can dip the bottom half, the entire treat, or even just drizzle melted chocolate over the top. For a clean dip, use a fork or a dipping tool. Hold a Rice Krispie treat with the fork and dip it into the melted chocolate, swirling gently to coat the desired area. Lift it out and let any excess chocolate drip back into the bowl. You can gently tap the fork against the side of the bowl to help remove excess.
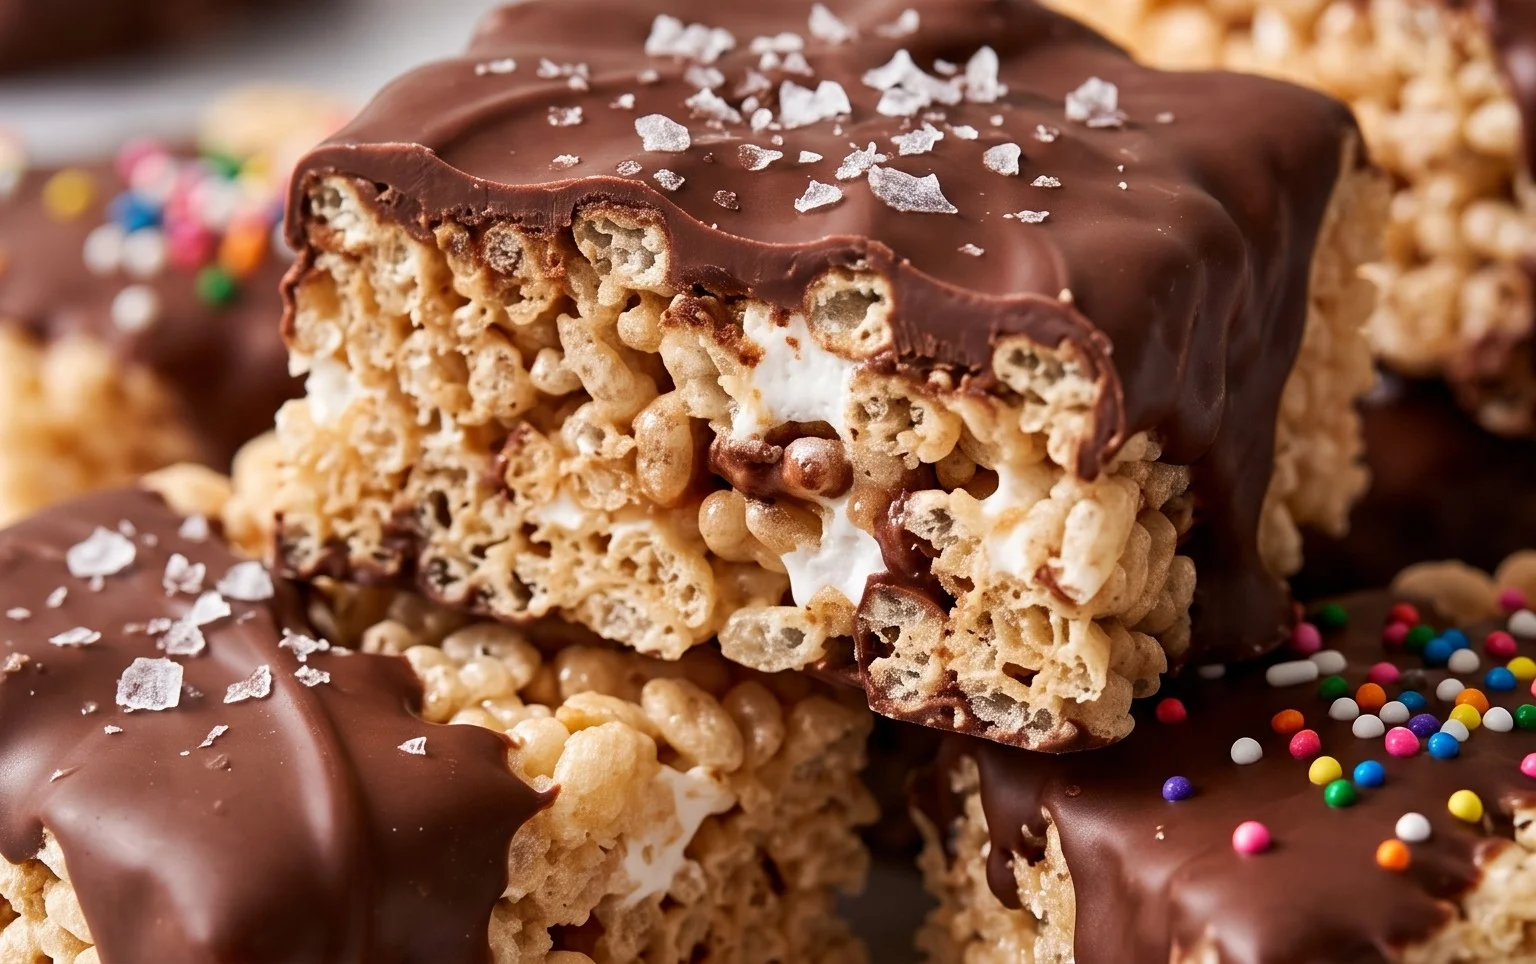
- Place the dipped treats onto a clean piece of parchment paper or a baking sheet lined with parchment. While the chocolate is still wet, this is your chance to add those optional toppings. Sprinkle immediately with small candies, sprinkles, chopped nuts, or edible glitter. Get creative! Different toppings can make each treat unique. If you’re doing drizzles, you can melt a contrasting color of chocolate or coating and use a spoon or a piping bag to create lines over the set chocolate.
- Let the dipped treats set completely. This is a crucial step for a clean finish. You can leave them at room temperature if your kitchen isn’t too warm, or pop them into the refrigerator for about 10-15 minutes to speed up the process. Once the chocolate is fully hardened, your Chocolate Dipped Rice Krispie Treats are ready to be enjoyed. Store any leftovers in an airtight container at room temperature for up to 3 days. They are best enjoyed within the first day or two for optimal texture.
Conclusion:
Making Chocolate Dipped Rice Krispie Treats is a fun and rewarding process that yields a crowd-pleasing dessert. The simple act of dipping transforms the humble Rice Krispie treat into something more elegant and decadent. They are perfect for virtually any occasion, from a casual afternoon pick-me-up to a centerpiece at a birthday party. Don’t be afraid to experiment with different types of chocolate, like dark, milk, or even white chocolate, or try adding different toppings for extra texture and flavor. You can even swirl two kinds of melted chocolate together for a marbled effect before dipping. Store any leftovers in an airtight container at room temperature for up to three days. They’re best enjoyed within the first day or two for that optimal crisp-chewy texture.
Frequently Asked Questions:
Can I use regular butter instead of European-style salted butter?
Yes, you can. European-style salted butter has a higher fat content and a slightly richer flavor, which makes a subtle difference. If you use regular salted butter, your treats will still be delicious, but the base might be a little less nuanced. If you use unsalted butter, you might want to add a tiny pinch of salt to the cereal mixture to balance the sweetness.
How do I get a smooth chocolate coating?
For the smoothest coating, make sure your chocolate is properly melted and tempered if using real chocolate. If using candy melts, just melt them slowly until smooth. Don’t overheat the chocolate, as it can seize up and become lumpy. Tempering chocolate requires specific temperature control, which can be tricky. If you’re new to this, candy melts are a very forgiving and easy alternative for a glossy finish without tempering. Work relatively quickly once the treats are dipped, as the chocolate will start to set.
How should I store Chocolate Dipped Rice Krispie Treats?
Store them in a single layer in an airtight container at room temperature. Avoid refrigerating them, as this can make the chocolate coating chalky or brittle and can dry out the Rice Krispie treats. Placing parchment paper between layers if you need to stack them will prevent sticking.
Chocolate Dipped Rice Krispie Treats
Classic sweet and crispy Rice Krispie treats generously dipped in rich chocolate and adorned with your favorite toppings.
Ingredients
-
6 tablespoons European-style Salted Butter
-
16 ounces marshmallows
-
7 cups Rice Krispies Cereal
-
18 ounces melted and tempered chocolate or melted confectionery coating (Candy Melts)
-
optional toppings: small candies, sprinkles, chopped nuts, edible glitter
Instructions
-
Step 1
Grease a 9×13 inch baking dish or line with parchment paper. -
Step 2
In a large pot over low heat, melt the butter. Add the marshmallows and stir continuously until completely melted and smooth. -
Step 3
Remove the pot from heat. Add the Rice Krispies cereal and stir until well combined and coated. -
Step 4
Press the mixture evenly into the prepared baking dish. Let it cool completely. -
Step 5
Cut the cooled treats into desired shapes (squares, rectangles, or use cookie cutters). -
Step 6
Dip each treat halfway into the melted chocolate or candy melts. Allow excess chocolate to drip off. -
Step 7
Place the dipped treats on parchment paper. While the chocolate is still wet, add any optional toppings like sprinkles, chopped nuts, or edible glitter. -
Step 8
Let the chocolate set completely before serving or storing.
Important Information
Nutrition Facts (Per Serving)
It is important to consider this information as approximate and not to use it as definitive health advice.
Allergy Information
Please check ingredients for potential allergens and consult a health professional if in doubt.