Soft Chewy Chocolate Chip Cookies Perfected Recipe
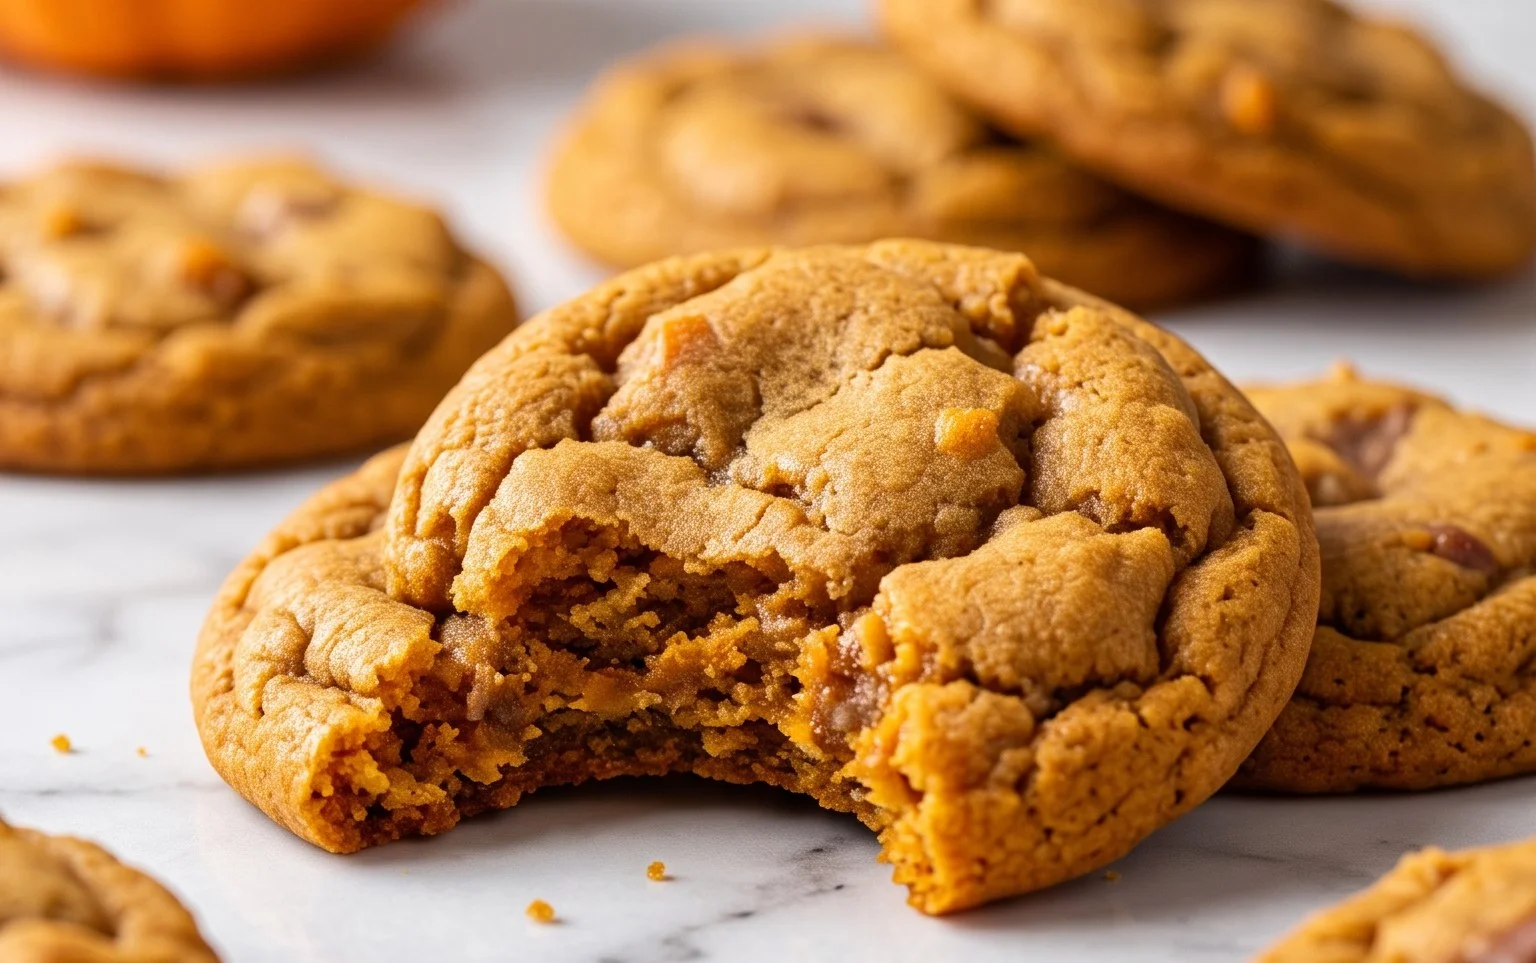
Soft and chewy chocolate chip cookies are more than just a dessert; they’re a hug in cookie form, a comforting memory baked into every bite. Who among us hasn’t dreamt of that perfect cookie – slightly crisp on the edges, yielding to a wonderfully soft and delightfully chewy center, studded with pockets of melted, gooey chocolate? It’s a universal craving, a simple pleasure that brings smiles to faces of all ages. My goal with this recipe is to deliver that exact experience, every single time. We’re talking about the kind of soft and chewy chocolate chip cookies that make your kitchen smell like pure happiness and disappear from the plate faster than you can say “one more.” What makes these truly special is the balance – the subtle chewiness achieved through a few simple techniques, the perfect amount of sweetness, and of course, generous amounts of high-quality chocolate. Get ready to bake the best soft and chewy chocolate chip cookies you’ve ever had.

Soft and Chewy Chocolate Chip Cookies
There’s a universal comfort in a perfectly baked chocolate chip cookie. Not too crisp, not too cakey, but that ideal balance of soft, chewy goodness with pockets of melted chocolate. For years, I’ve been on a quest to achieve that quintessential cookie, and I’m thrilled to share my perfected recipe with you. This isn’t just any cookie; it’s a hug in edible form, designed to be utterly irresistible. The secret lies in a few key techniques that ensure a delightful texture every single time. Let’s get baking!
Ingredients:
- 2 and 3/4 cups (345 grams) all-purpose flour
- 1 teaspoon baking soda
- 1 teaspoon salt
- 1 cup (230 grams; 2 sticks) unsalted butter, softened
- 1 cup (200 grams) light brown sugar (packed)
- 1/2 cup (100 grams) granulated sugar
- 2 large eggs (at room temperature)
- 2 teaspoons pure vanilla extract
- 1 12-ounce package (2 cups; 340g) semi-sweet chocolate chips
Getting Started: Preparing Your Dough
Before we dive into mixing, it’s essential to have all your ingredients prepped and ready. This ensures a smooth and efficient baking process.
First, preheat your oven to 375°F (190°C). This temperature is crucial for achieving that golden-brown exterior while keeping the inside soft and chewy. Line baking sheets with parchment paper. This prevents sticking and makes for easy cleanup.
In a medium bowl, whisk together the dry ingredients: 2 and 3/4 cups of all-purpose flour, 1 teaspoon of baking soda, and 1 teaspoon of salt. Whisking them together ensures that the leavening agent (baking soda) and salt are evenly distributed throughout the flour, which contributes to consistent cookie rise and flavor. Set this bowl aside.
Now for the heart of the cookie: the butter and sugars. In a large bowl, cream together 1 cup (2 sticks) of softened unsalted butter with 1 cup of packed light brown sugar and 1/2 cup of granulated sugar. “Softened” is key here – the butter should be pliable but not melted. You can achieve this by leaving it on the counter for about an hour, or by cutting it into smaller cubes and letting it sit for a shorter period. Creaming involves beating the butter and sugars together until the mixture is light and fluffy. This process incorporates air into the dough, which helps with the cookie’s texture and spread. I like to use an electric mixer for this, starting on low speed and gradually increasing to medium-high, scraping down the sides of the bowl a few times to ensure everything is well combined. This should take about 2-3 minutes. The mixture will become pale in color and noticeably fluffy.
Incorporating the Wet Ingredients
Once your butter and sugar mixture is perfectly creamed, it’s time to add the eggs and vanilla. Add the 2 large eggs, one at a time, beating well after each addition. It’s important that the eggs are at room temperature. Cold eggs can shock the butter mixture, potentially causing it to curdle. If you forget to take them out in advance, you can quickly warm them by placing them in a bowl of warm water for about 5-10 minutes. After each egg is incorporated, beat until just combined.
Next, stir in 2 teaspoons of pure vanilla extract. The vanilla extract is more than just a flavor enhancer; it contributes to the overall aroma and complexity of the cookie. Use good quality pure vanilla extract for the best results. Mix until the vanilla is fully incorporated into the wet ingredients.
Combining Wet and Dry, and the Chocolatey Finale
Now comes the crucial step of combining the wet and dry ingredients. Gradually add the flour mixture to the wet ingredients in three additions, mixing on low speed until just combined after each addition. It’s important not to overmix at this stage. Overmixing develops the gluten in the flour, which can lead to tough cookies. Stop mixing as soon as you no longer see streaks of dry flour. A few small lumps are perfectly fine.
Finally, it’s time for the star of the show: the chocolate chips! Gently fold in the 12-ounce package of semi-sweet chocolate chips. I prefer to use a spatula for this, ensuring that the chocolate chips are evenly distributed throughout the dough without breaking them up too much. You can also substitute milk chocolate, dark chocolate, or a combination of chips for a different flavor profile. If you like a more intense chocolate flavor, you can even add some chopped chocolate bars to the mix.
Baking to Perfection
Now, let’s get these cookies into the oven! Drop rounded tablespoons of dough onto the prepared baking sheets, spacing them about 2 inches apart. This gives them enough room to spread without touching each other as they bake. If you want perfectly uniform cookies, you can use a cookie scoop. For a more rustic look, feel free to simply drop the dough by spoonfuls.
Bake for 9 to 11 minutes, or until the edges are golden brown and the centers still look slightly soft and underbaked. This is the secret to a chewy cookie! They will continue to bake and firm up as they cool on the baking sheet. Resist the urge to overbake them in the oven.
Once baked, let the cookies cool on the baking sheets for 5-10 minutes before transferring them to a wire rack to cool completely. This resting period on the baking sheet is essential for allowing the cookies to set properly. If you try to move them too soon, they might fall apart.
Enjoy these warm, soft, and chewy chocolate chip cookies with a glass of milk, or simply savor them on their own. They are perfect for any occasion and are sure to become a favorite in your baking repertoire.

Conclusion:
There you have it! My foolproof recipe for soft and chewy chocolate chip cookies that are guaranteed to become a new family favorite. We’ve achieved that perfect balance of a slightly crisp edge and a wonderfully soft, gooey center, packed with pockets of melted chocolate. These aren’t just any cookies; they’re an experience! Imagine these warm, comforting delights fresh from the oven, their aroma filling your kitchen. They’re perfect on their own, but truly shine when served with a tall glass of cold milk, a scoop of vanilla ice cream for an indulgent dessert, or even a steaming cup of coffee for a delightful afternoon treat.
Don’t be afraid to get creative with variations! Consider adding a sprinkle of sea salt on top before baking for a sophisticated sweet and salty contrast, or perhaps a handful of chopped nuts like walnuts or pecans for added texture and flavor. You could even try different types of chocolate chips – dark, milk, or white chocolate all bring a unique sweetness. I encourage you to give this recipe a try. The joy of baking these delicious cookies and sharing them (or enjoying them all yourself!) is incredibly rewarding. So, preheat your ovens and get ready to bake up some happiness!
Frequently Asked Questions:
Why are my cookies flat instead of chewy?
Flat cookies often result from over-creaming the butter and sugar, which incorporates too much air, or from using too much butter. Ensure you’re creaming until just combined and that your butter is softened, not melted. Also, chilling the dough before baking is crucial for preventing spreading and promoting that desired chewy texture.
Can I make these cookies ahead of time?
Absolutely! The dough can be made and stored in the refrigerator for up to 3 days, or frozen for up to 3 months. Baking from chilled or frozen dough will result in even chewier cookies. Simply scoop frozen dough balls directly onto a baking sheet and add a few extra minutes to the baking time.
How do I store these soft and chewy chocolate chip cookies?
To maintain their softness, store cooled cookies in an airtight container at room temperature. You can add a slice of bread or a paper towel to the container to help absorb excess moisture and keep them soft for several days. They also freeze beautifully!
Soft and Chewy Chocolate Chip Cookies
Classic chocolate chip cookies with a perfect soft and chewy texture.
Ingredients
-
2 and 3/4 cups all-purpose flour
-
1 teaspoon baking soda
-
1 teaspoon salt
-
1 cup unsalted butter, softened
-
1 cup light brown sugar, packed
-
1/2 cup granulated sugar
-
2 large eggs
-
2 teaspoons pure vanilla extract
-
1 12-ounce package semi-sweet chocolate chips
Instructions
-
Step 1
Preheat oven to 375°F (190°C). Line baking sheets with parchment paper. -
Step 2
In a medium bowl, whisk together flour, baking soda, and salt. Set aside. -
Step 3
In a large bowl, cream together softened butter, brown sugar, and granulated sugar until light and fluffy. -
Step 4
Beat in eggs one at a time, then stir in vanilla extract. -
Step 5
Gradually add the dry ingredients to the wet ingredients, mixing until just combined. Do not overmix. -
Step 6
Stir in the chocolate chips. -
Step 7
Drop rounded tablespoons of dough onto prepared baking sheets, about 2 inches apart. -
Step 8
Bake for 9-11 minutes, or until edges are golden brown and centers are still slightly soft. -
Step 9
Let cookies cool on the baking sheets for a few minutes before transferring them to a wire rack to cool completely.
Important Information
Nutrition Facts (Per Serving)
It is important to consider this information as approximate and not to use it as definitive health advice.
Allergy Information
Please check ingredients for potential allergens and consult a health professional if in doubt.